Learning about Volumetric Scattering and Fog with Redshift in Cinema 4D
Volumetric Scattering and Fog are important parts of the Volume topic series in the Redshift render engine. In today’s post, iRender will go into detail about Volumetric Scattering and Fog and its settings in C4D Redshift. Hopefully, the article will help readers have an overview and better understand this topic.
Please note that the effect described on this page refers to the global, uniform fog. If you’re looking for localized effects (clouds, smoke, etc), please use the Redshift Volume object in combination with the Volume Shader instead.
1. What are Volumetric Scattering and Fog and how to use Volumetric Scatter Shader?
Volumetric Scattering And Fog Explained
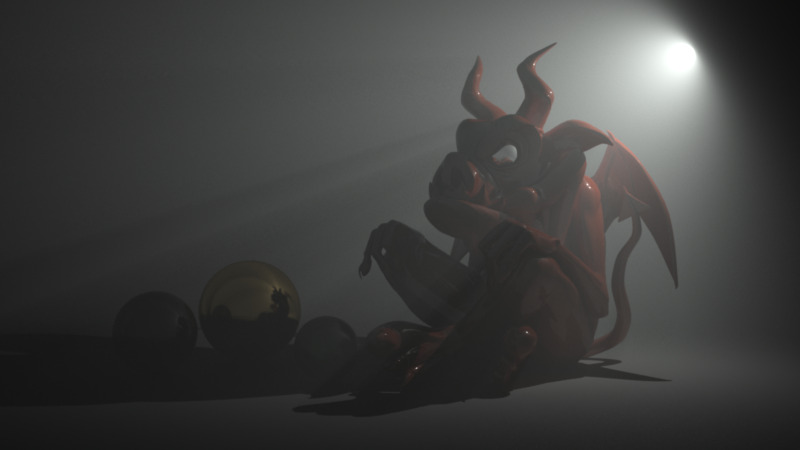
The space around us is not empty. It contains small particles of water, dust, ash, etc. As light travels through this space (called the “medium”) and depending on the composition of these particles, it changes. Parts of the lighting get absorbed while the remaining lighting gets scattered around. The volumetric scattering shader allows the user to describe the lighting properties of the medium and, therefore, its effects on lighting.
Using the volumetric scattering shader, it’s possible to render:
-
-
- A global fogging effect
- Volumetric light beams and shadows
-
Source: Maxon.net
Using The Volumetric Scatter Shader
To use the Volumetric Scattering effect simply create a Redshift Environment object from the Create menu like so:
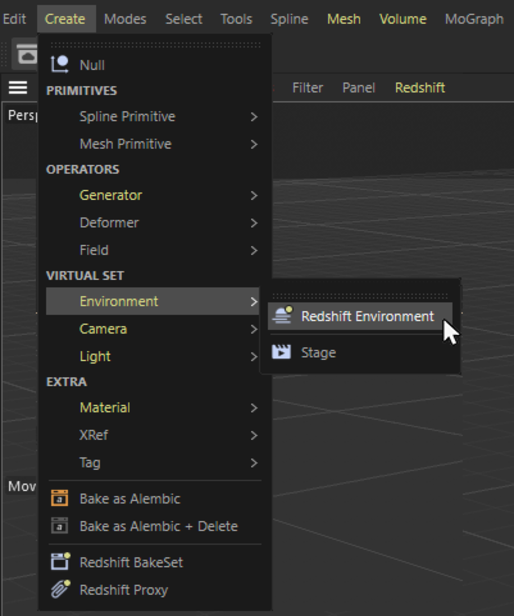
Source: Maxon.net
2. Volumetric Scattering and Fog: Setting Steps
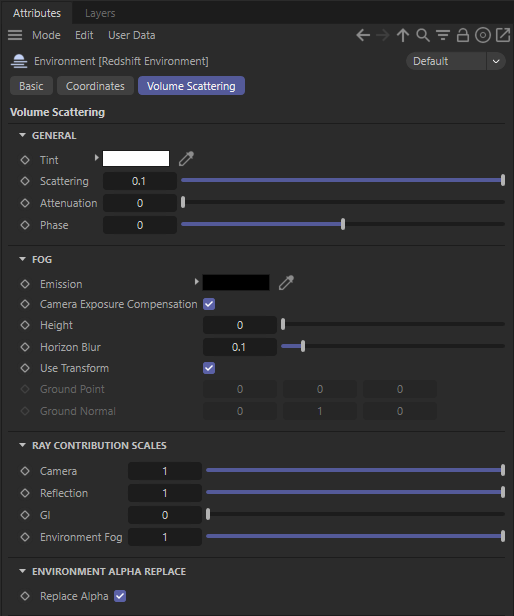
General Settings
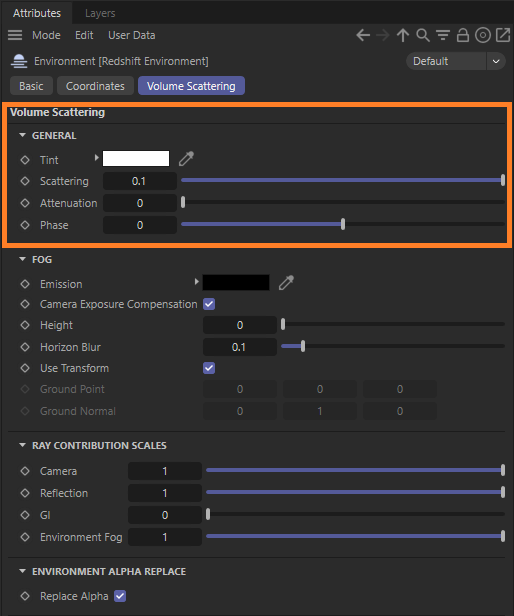
We will go through 5 general setting steps in turn as follows:
Step 1: Enable
Toggles the volumetric scattering effect (fog and volumetric lighting) on/off. You can find this option in the Basic tab or just use the green checkmark icon to the right of the Redshift Environment in the Object Manager.
Step 2: Tint
A global tint for all volumetric lighting effects (this doesn’t include global fog)
Step 3: Scattering
Defines how strong the volumetric lighting effect should be. Higher values will generate brighter volumetric lighting and vice-versa. If you enable volumetric scattering and you get a completely washed-out-white frame, you might need to reduce this setting significantly.
Step 4: Attenuation
Controls both the strength of the fog and the amount by which light gets attenuated as it travels through the medium. Higher numbers introduce stronger fogging and more light attenuation. Lighting attenuation only happens for non-infinite lights. Dome lights, the physical sun, and infinite lights will not be attenuated. This is intentional! Because these lights are at an infinite distance, any amount of attenuation (which is dependent on distance) would completely block them out.
Step 5: Phase
The “Phase” parameter controls how much the lighting will bounce around inside the medium and get scattered. In some ways, this setting is similar to the “Diffuse/Specular” settings of surface material.
A phase of 0.0 means that the lighting will bounce around more and will appear more diffuse. Values greater than 0.0 produce what is known as “forward scattering”. Forward scattering means the lighting doesn’t bounce around in the medium as much and is mostly visible when traveling towards the camera. On the other hand, negative numbers will produce “backward scattering’ which means that volumetric lighting will mostly be visible as it travels away from the camera.
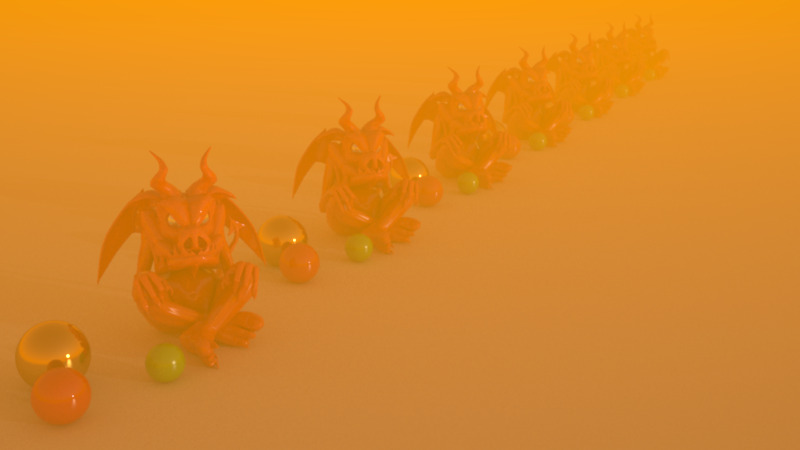
We show some forward scattering examples below.
Source: Maxon.net
Fog Settings
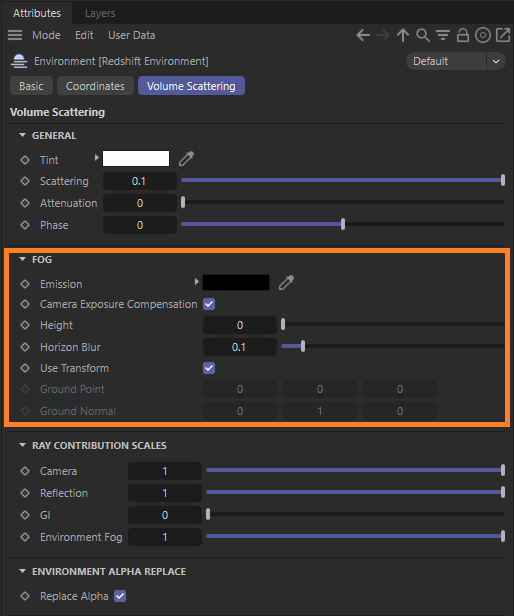
In this section, you need to pay attention to the following 07 small settings:
Emission Color
Allows fog to be self-illuminating. This is useful when you want the fog to have color and not just be black.
Apply Camera Exposure Compensation
Since the fog can be self-illuminating via the “emission” setting, this option ensures that, if a photographic exposure lens shader is present, the emission color will be scaled appropriately so that the user won’t have to use large RGB numbers. Maxon strongly recommends users leave this option enabled.
Height
When height is set to zero, fog is omnipresent. A non-zero value enables “height fog” and sets the height of the fog. See examples images below.
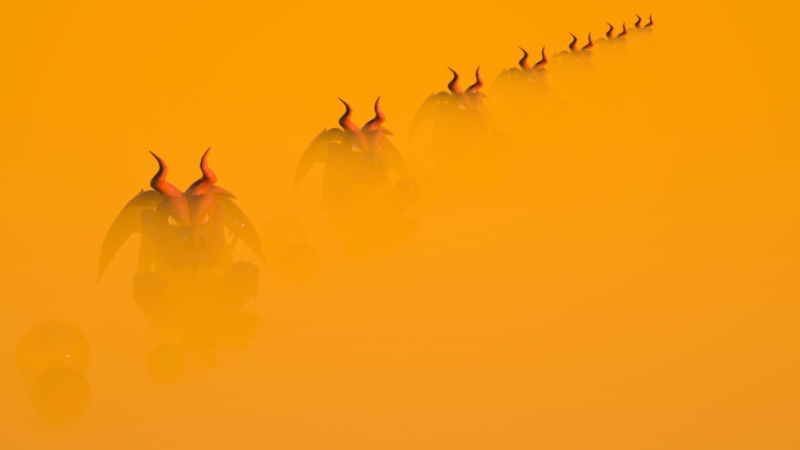

Source: Maxon.net
Horizon Blur
When using height fog on a large-scale scene, there might be a sharp shading line where the fog joins the horizon. Even though “correct” this effect is not visually appealing. The horizon blur setting allows the height fog’s horizon to be faded out which will smooth out the effect.
Use Transform
If activated, you can control the orientation and location of the fog by moving the Redshift Environment object directly in your view. If deactivated, you can set a starting point and direction for the fog by using the Ground Point and Ground Normal parameters.
Ground Point
If using height fog, this setting determines where the fogging effect starts.
Ground Normal
If using height fog, this setting determines the direction of the fog. Using this setting you can create a ‘wall of fog’ instead of a ‘blanket of fog’. See example images below.
Ray Contribution Scales Settings
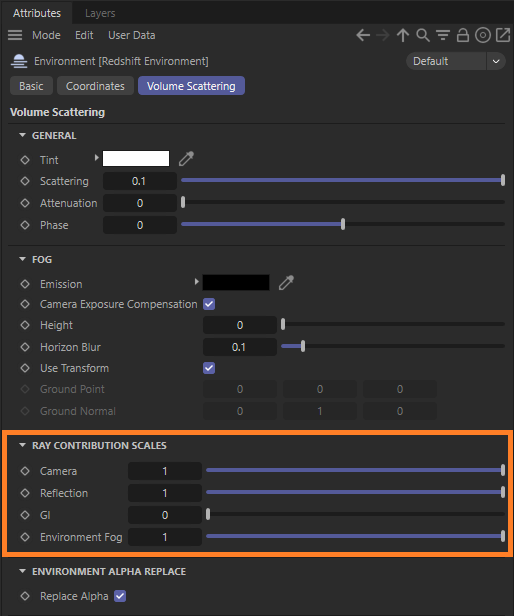
Camera defines how much fogging and volumetric lighting should be applied to rays that hit scene objects.
Reflection defines how much fogging and volumetric lighting should be applied to rays that were spawned from reflection.
GI defines how much fogging and volumetric lighting should be applied to any GI lighting. Applying volumetric lighting on GI computations can wash out the results, produce noise (especially if strong phase settings are used) and be computationally intensive. For this reason, Redshift has this contribution turned off by default.
Environment Fog defines how much fogging and volumetric lighting should be applied to rays that don’t hit anything and go to infinity.
Environment Alpha Replace Settings
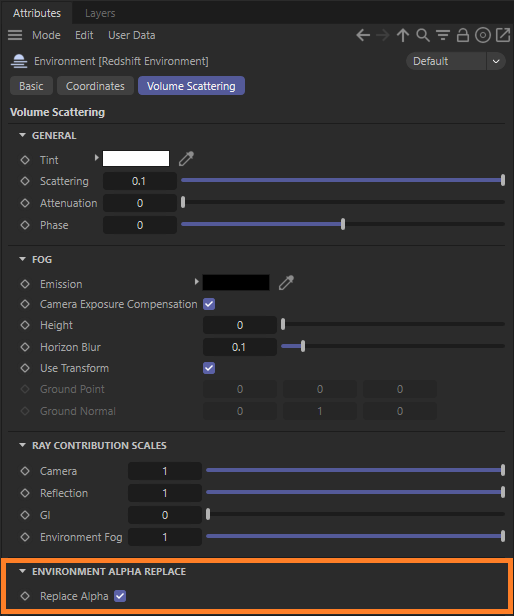
The Environment Alpha Replace option replaces environment alpha with 1. This is because the alpha pre-multiplied output can make the volumetric effect disappear in areas where the alpha is not 1 or 0. The example below shows a light volume over a black environment with an alpha of 0. You can clearly see the artifacts caused by disabling the option in the preview window of Softimage, where anti-aliasing produces ‘halos’ of alpha values between 0 and 1. You should only disable this option if you expect to composite and effectively replace the volumetric effect where the environment is.
Source: Maxon.net
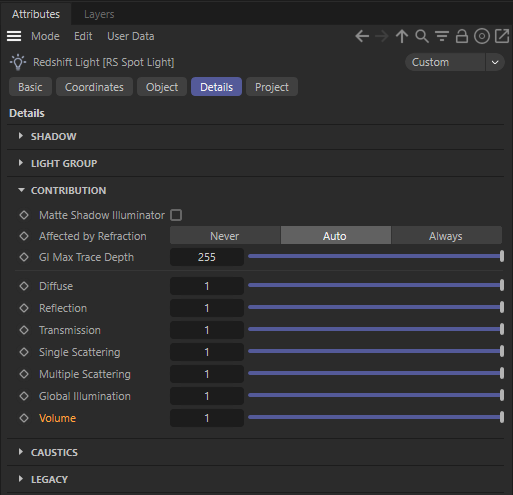
Enabling Volumetric Lighting Settings
To enable volumetric lighting for a light, take care use a Volume value above 0. You can find this setting in the Details tab of the Redshift Light.
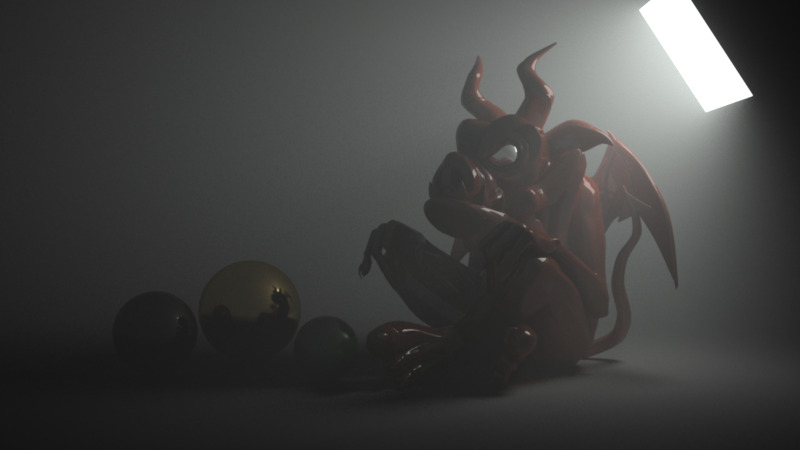
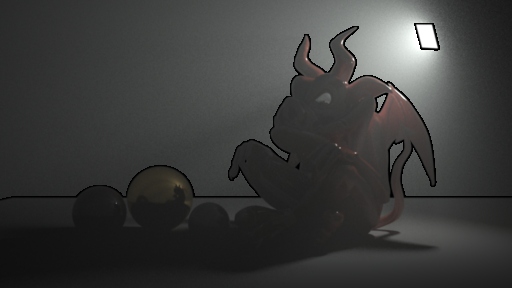
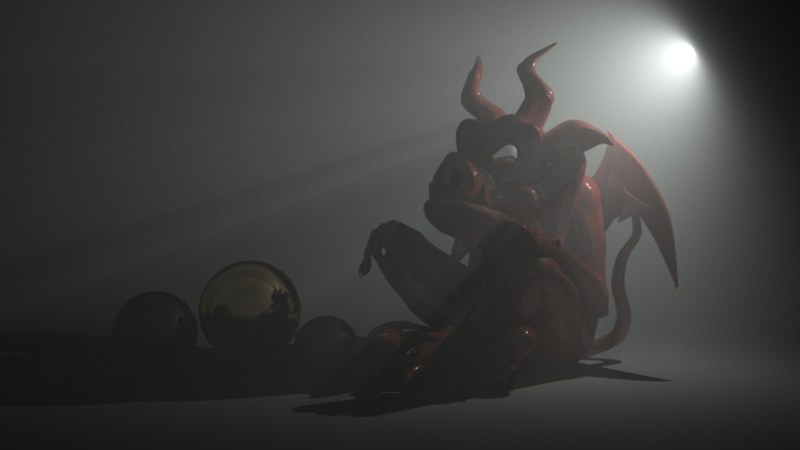
Below, we show the effect of some more volumetric-lighting-related settings.
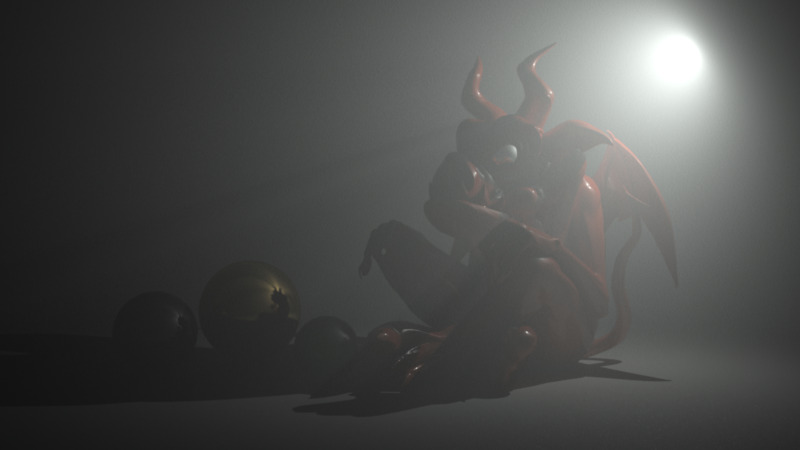
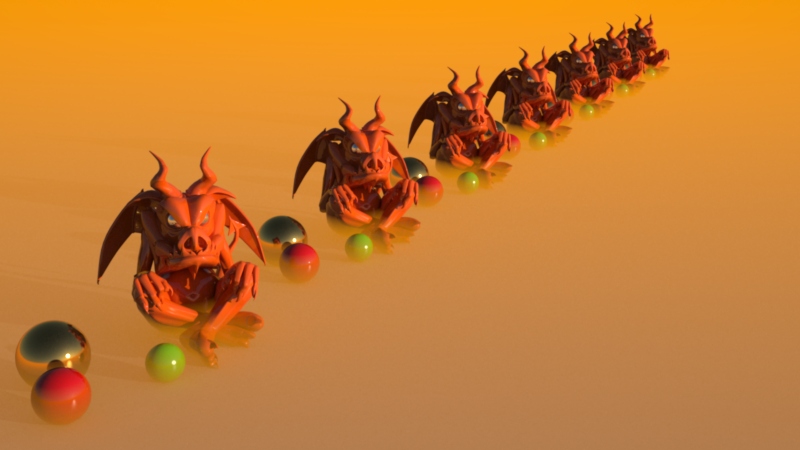
Picture 1: Original settings
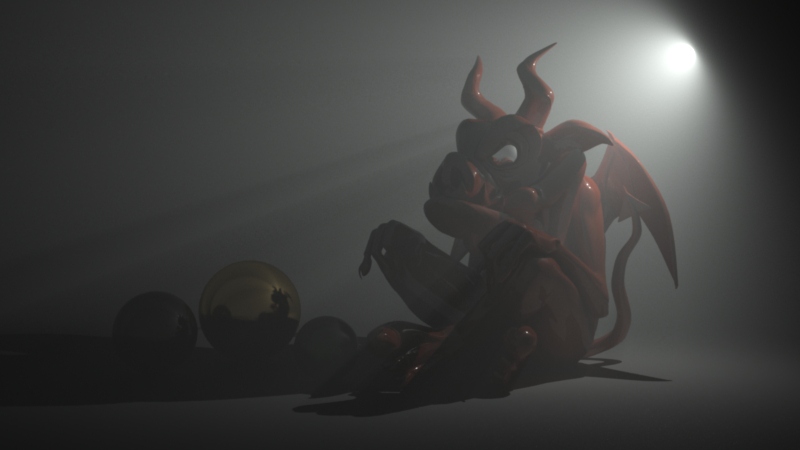
Picture 2: With reflection contribution scale set to 0.0. The reflections can no longer ‘see’ the volumetric lighting. For this particular scene, it’s a subtle difference.
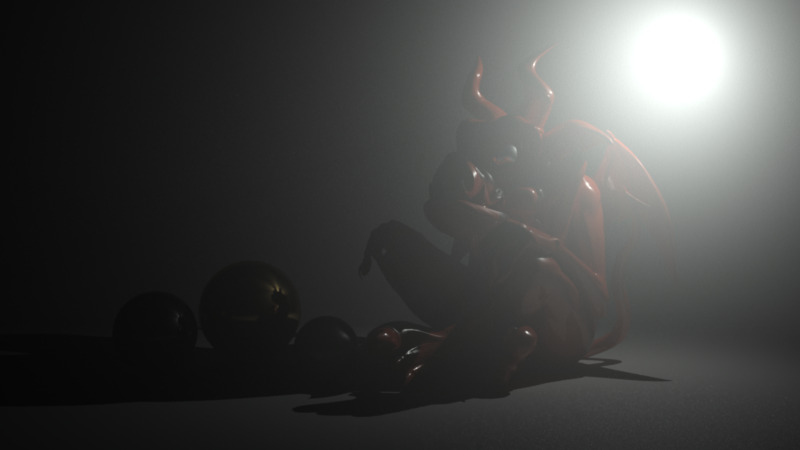
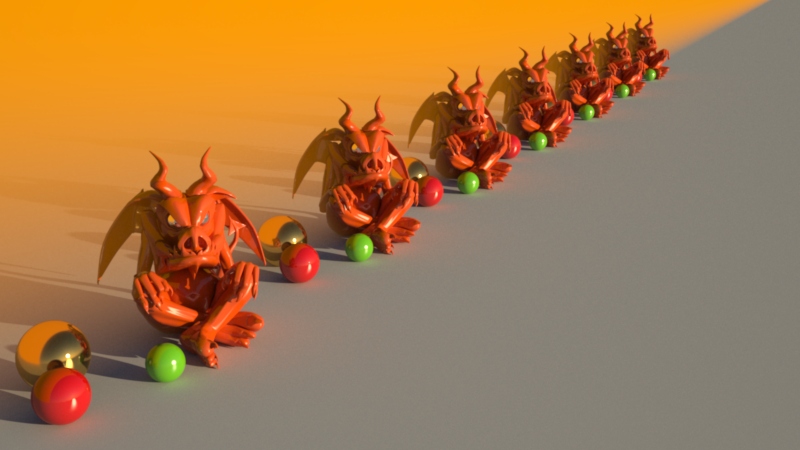
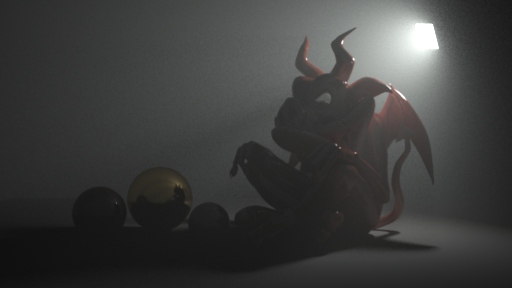
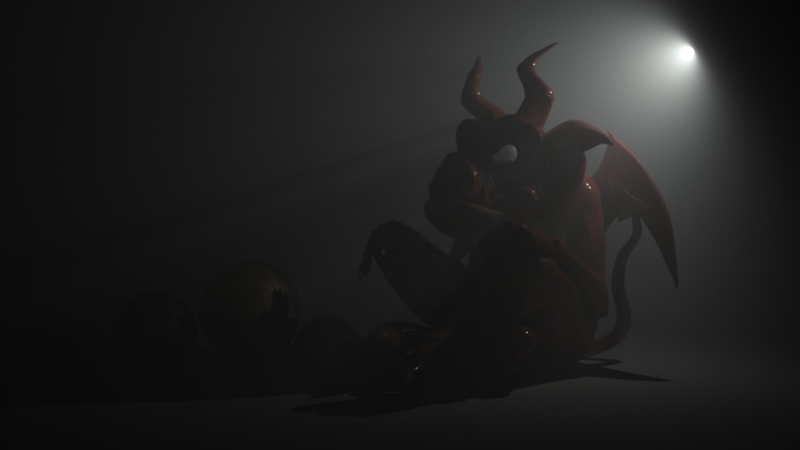
Picture 3: With some attenuation added. Lighting now gets dimmed as it passes through the medium.
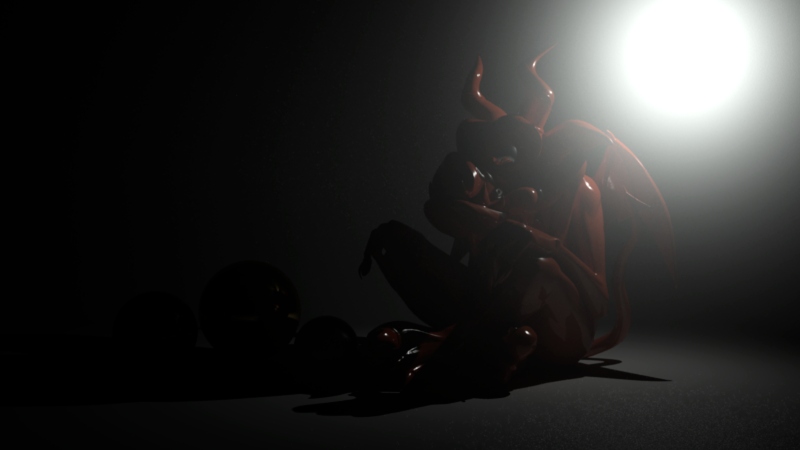
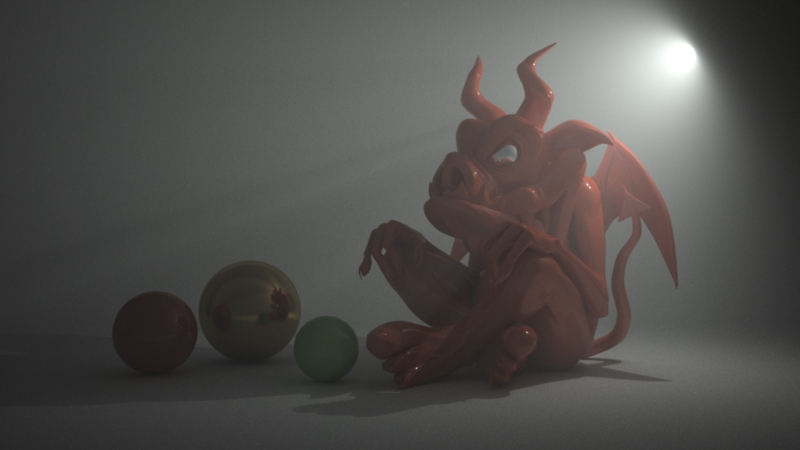
Picture 4: Setting GI contribution scale to 1.0. Now the GI rays can ‘see’ the volumetric lighting which creates extra lighting in the scene.

Source: Maxon.net
iRender - The Best Cloud Rendering Solution for Redshift and Cinema 4D
Who we are:
iRender is proud to be a professional GPU Accelerated Cloud Rendering Service provider in HPC optimization for Render, CGI, and VFX tasks with more than 20,000 customers and being appreciated in many global rankings (e.g. CGDirector, Lumion Official, Radarrender, InspirationTuts CAD, All3DP).
What we provide:
iRender provides hardware service, not software service. We understand that each modern artist has his/her own design needs and requirements of the graphic software. Therefore, the iRender team has built high configuration machines so that our clients can customize their working environment to proactively control and design uniquely as they wish.
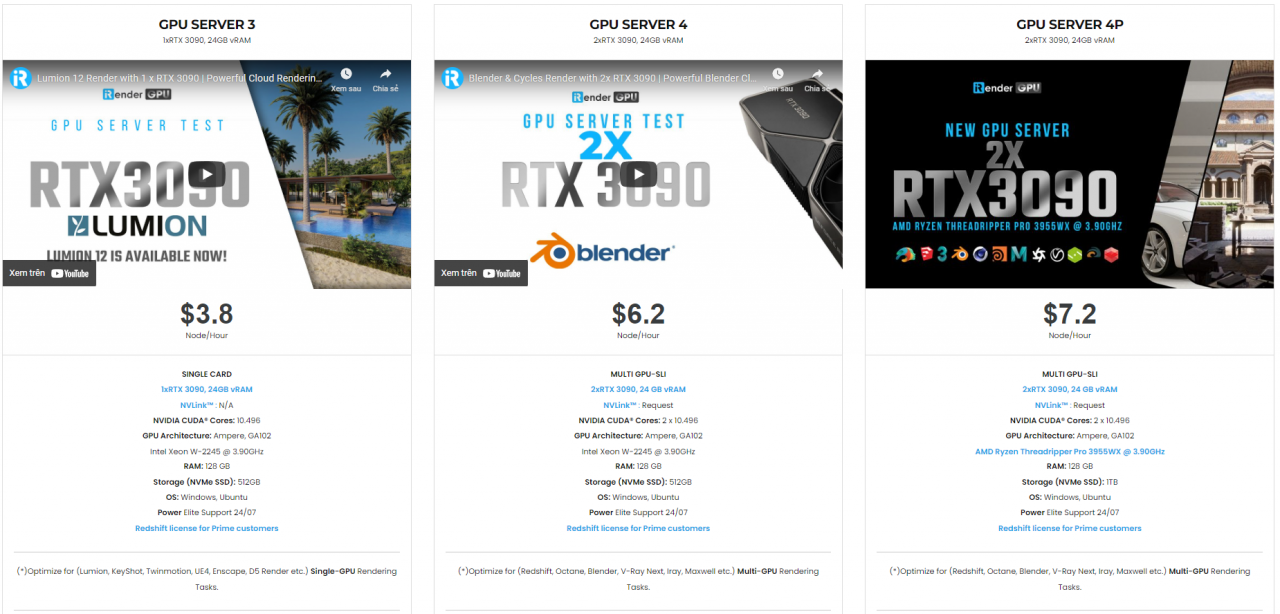
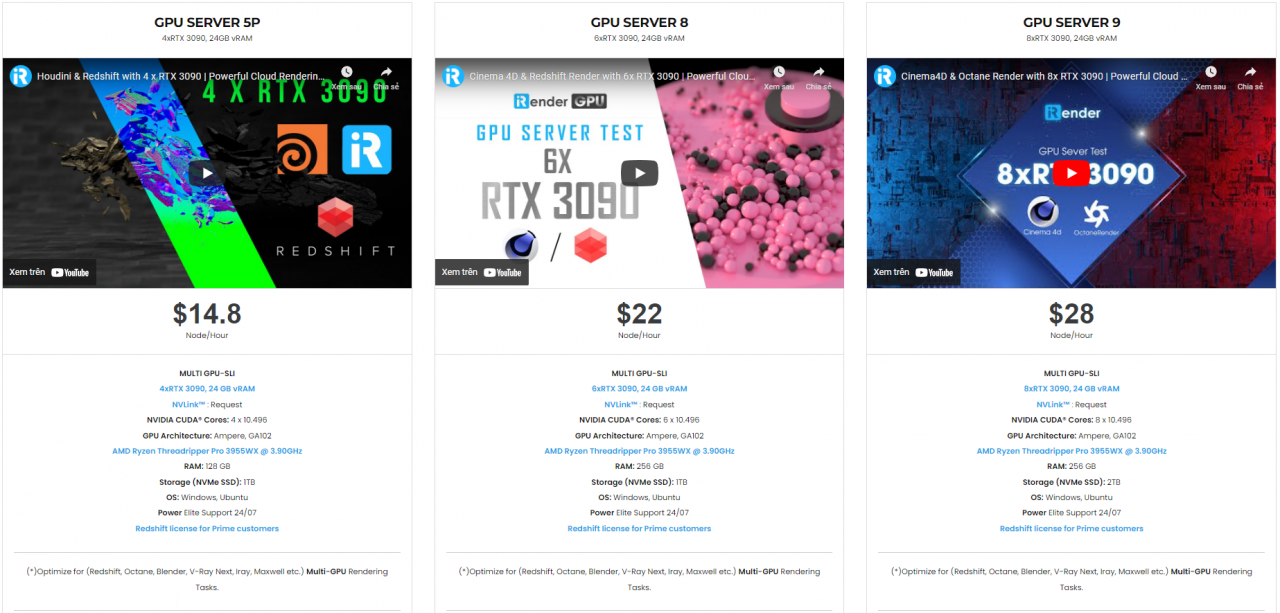
We have developed multiple RTX 3090 servers that are specifically configured and optimized for GPU rendering. When you use one of these servers, you are guaranteed to experience maximum performance within your budget with a render engine like Redshift. With a range of GPU servers from a single RTX 3090 card to multiple 2/4/6/8 x RTX 3090 cards, you can choose a server that meets your needs and your software to start the rendering process. Redshift lovers can easily choose from basic to the most powerful configurations. However, we honestly recommend that servers 5P(4 RTX 3090) and 9A(8 RTX 3090) would be the two best servers for Redshift (which option depends on your budget) because AMD Ryzen Threadripper workstations that contain 4-8 graphics cards are perfect for Redshift.
Why we are the best render farm for Redshift Rendering?
Currently, the latest Redshift version – 3.5 has supported rendering on both CPU and GPU. However, if your computer’s configuration is not powerful enough for rendering or you need to use your personal PC for other works, consider using iRender’s servers. We believe that with the powerful AMD Ryzen Threadripper PRO 3955WX and multiple GPUs RTX3090 (on 5P, 8A, and 9A packages), Redshift rendering on our server is sure to be at an unprecedented speed! To all Redshift lovers, you now can take full advantage of the most powerful CPU and GPUs on our server to take redshift rendering to the next level.
Let’s test Redshift rendering speed in Cinema 4D on our 1/2/4/6/8 GPUs RTX 3090 server now!

Currently, 1 license key (License) for Redshift costs $500. For maximum support to deliver the smoothest rendering experience possible with Redshift on our servers, iRender offers PRIME clients a/many free Redshift floating licenses. Users who top up enough points to become Prime customers will be able to use the Redshift license without usage or maintenance costs.
In addition to the powerful high-end configuration, we also provide many other useful features (Daily/Monthly rental, machine cloning, change package function, NVLink support, APIs, configuration customizing, etc). Using our service, you will receive dedicated support from our 24/7 technical team. This May, we are running a SPECIAL OFFER: 20% Bonus for new customers who register an account and top up within 24 hours after registration (for students, 50% bonus for each recharge time).
Let’s get started!
You can try our RTX3090 to turn your computer into a supercomputer and faster your rendering speed now! All you need to do is go through 5 basic steps: Register an account => Recharge => Transfer your C4D Redshift files to the server machine with GPUHub sync => Create a machine to boot it => Connect the super-powerful machine and fully control it.
Let become a MEMBER of the iRender community today to get a FREE COUPON to save your rendering time and budget. For more information, please do not hesitate to reach us via Whatsapp: +84915875500 or email: [email protected].
Thank You and Happy Rendering!
Reference source: Maxon.net
Related Posts
The latest creative news from Redshift Cloud Rendering.