Useful tips and tricks for better Rendering with Keyshot
Rendering is part of a product designer’s toolkit that allows us to effectively communicate our ideas as real, physical objects of value during the later stages of concept design. Using 3D geometry created in CAD, designer can then produce renders and visualizations of their own product which can be put to good use in several different ways. And good product rendering can be a complicated beast, it takes skill and craft (and time!) to communicate the emotions and ideas behind a particular concept that will ultimately elevate the value of a concept design or client product far beyond the high cost of any renders.
As with all design tools, everyone often has their own unique way of using them. For today’s article, let’s explore some of the most useful tips and tricks that the designers of Realisers usually use to get better rendering with Keyshot.
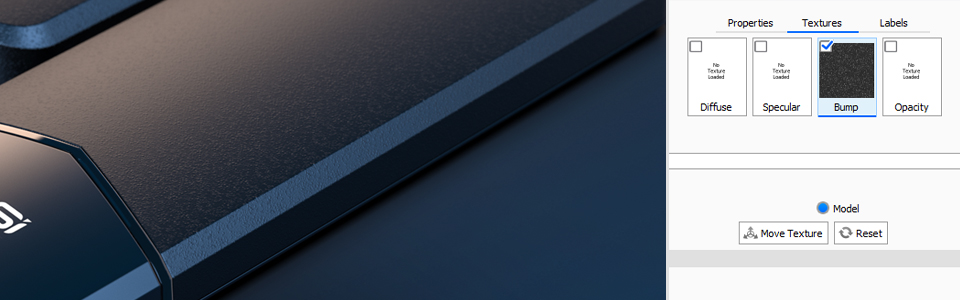
1. Add texture maps to ‘perfect’ surfaces
In a real-world environment, materials pick up scratches, dirt, and dust. In a virtual world, this of course doesn’t happen, so forcing these elements onto your model can make an image appear much more realistic! ‘Perfect’ surfaces often appear flat in renderings, whereas when a texture is applied, lights can catch the small imperfections in the materials surface.
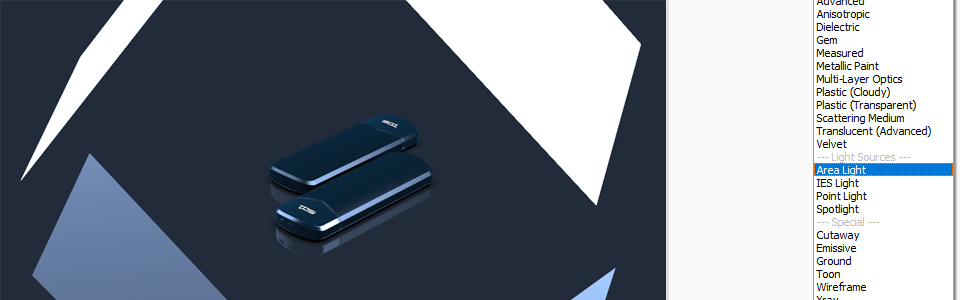
2. Use area lights
Area lights are great for producing realistic shadows and highlights! Inbuilt KeyShot scenes use a lot of lights and a complex HDRI image. The result of this is a product that is lit from every angle. For quick renders, this is great, but for something a bit more realistic or believable, create your own scene using area lights! I usually use 2 area lights, a primary and secondary light source, which creates much stronger shadows and highlights across the product.
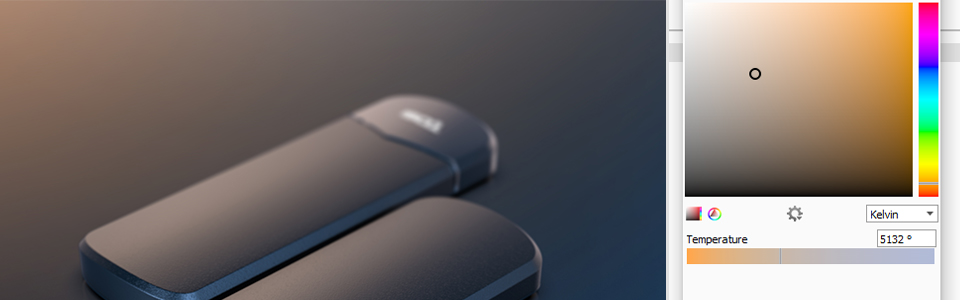
3. Balance lighting colour against HDRI
It helps to think about real-world environments in simple terms, the sky is blue and the sun is orange. A quick way to make an image appear more realistic is to use warm tones in your lighting and cool tones in your HDRI.
Esben Oxholm has a great tutorial on how to create this effect
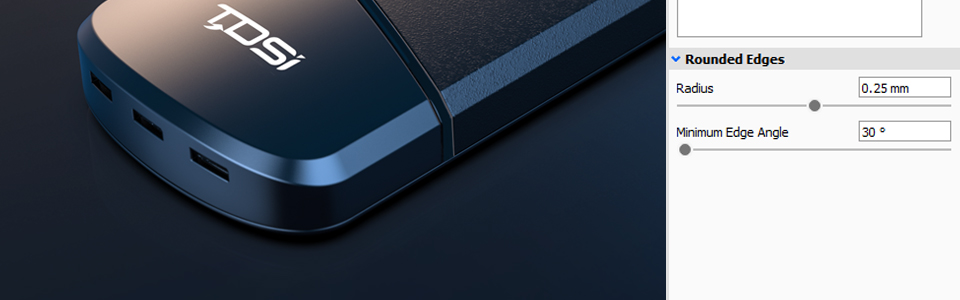
4. Add a radius to your model
KeyShot allows you to add a radius to your model, effectively rounding sharp edges and smoothing transitions. This applies to moulded plastic parts, where in reality it’s very rare you would see or be able to create a truly sharp edge. This feature is particularly useful when creating highlights on model edges.
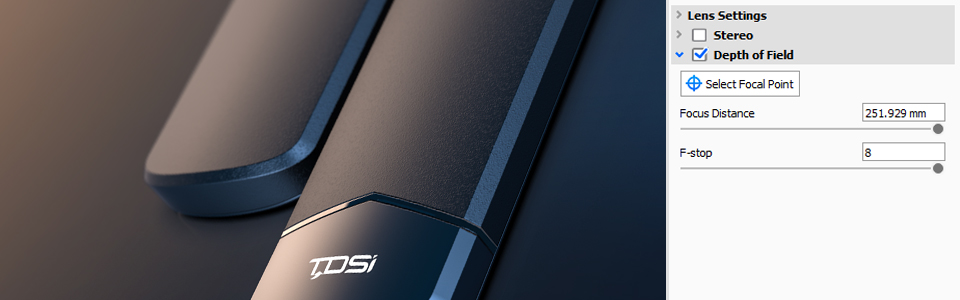
5. Add depth of field
Using depth of field can closely mimic the effect created by SLR cameras. It draws the observer’s focus to the model and blurs the background or parts of the model which are further away. This effect is commonly seen in macro images where the part being focused on is either very small or very close to the camera.
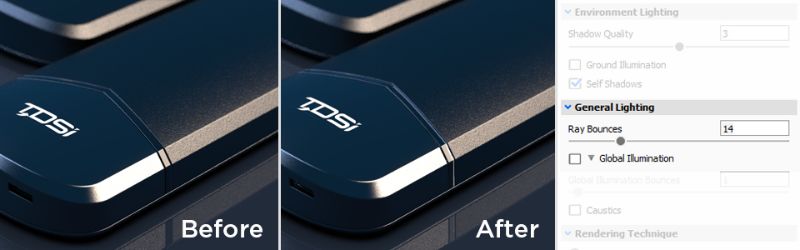
6. Increase ray bounces
Ray bounces determine how many times light bounces around a scene and across your model when leaving a light source.
For transparent objects in polycarbonate or glass, increasing the number of ray bounces helps to increase the clarity of the material. Increasing ray bounces also helps to achieve colour bleed when a brightly coloured material is in an adjacent model. Think of this like the buttercup effect.
Bonus tip: Considered composition!
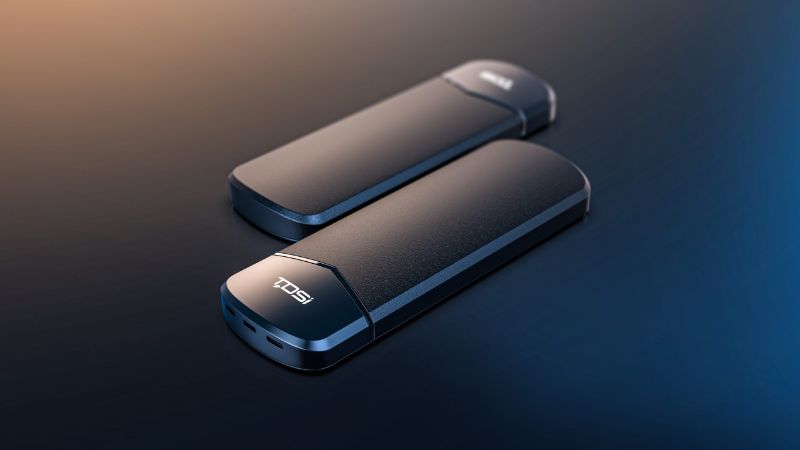
Consider positioning your model in a way that highlights its most attractive features. Placing two models in a scene and positioning them at opposing angles can capture a lot more information when presenting a product. It can also help make a single render appear more visually interesting.
Powerful servers with CPU & multi- GPU for Keyshot rendering
iRender provide 3 types of multi-GPU-servers (6x GeForce RTX 2080 Ti / 6x RTX 3080/ 6x RTX 3090) which are the most effective for Keyshot rendering in GPU, coming with the following specifications:

These servers are the ultimate online solution for KeyShot rendering allowing up to multiple, powerful 6x GeForce RTX 2080 Ti / 6x RTX 3080/ 6x RTX 3090 GPU. And, you can control the power and performance for the highest level customization and configuration in application resource usage. These servers are the premier solutions to maximize your advantage when you need it most – to win the project, to meet the impossible deadline, or pivot your visual direction with unparalleled speed.
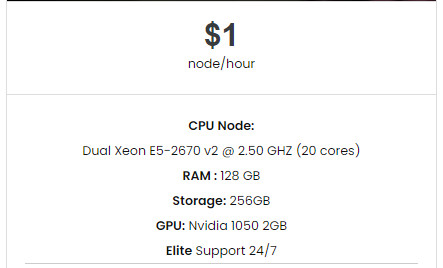
For CPU rendering, iRender also provides CPU servers with unmatched speed for rendering Keyshot with Dual Xeon E5-2670 v2 @ 2.50 GHZ, 20 cores, 40 threads, RAM 128 GB, Storage 256 GB and a Geforce GPU Nvidia 1050 2GB, which is totally higher than recommended system requirements. As a result, Keyshot users will be satisfied with CPU server performance at iRender.
At iRender, we try our best every day to offer our beloved customers the power and expedience they need to put the project, concept, or presentation together quickly and beautifully. Keeping that in mind, iRender aims to facilitate such people by providing our own cloud render services for everyone. Even a low-performance computer can turn into a supercomputer using the cloud services by iRender. You don’t need to buy expensive computers and then install heavy software, just make use of the services by iRender and start creating.
If you are a new iRender user, just register HERE to get FREE COUPON to test our servers with your Keyshot scenes and stay tuned for more interesting and useful article related to rendering everyday.
iRender – Happy Rendering!
Reference source: Callum Taylor
Related Posts
The latest creative news from KeyShot Cloud Rendering , Cinema 4D Cloud Rendering , 3D VFX Plugins & Cloud Rendering.