Adding textures and materials to labels in Keyshot
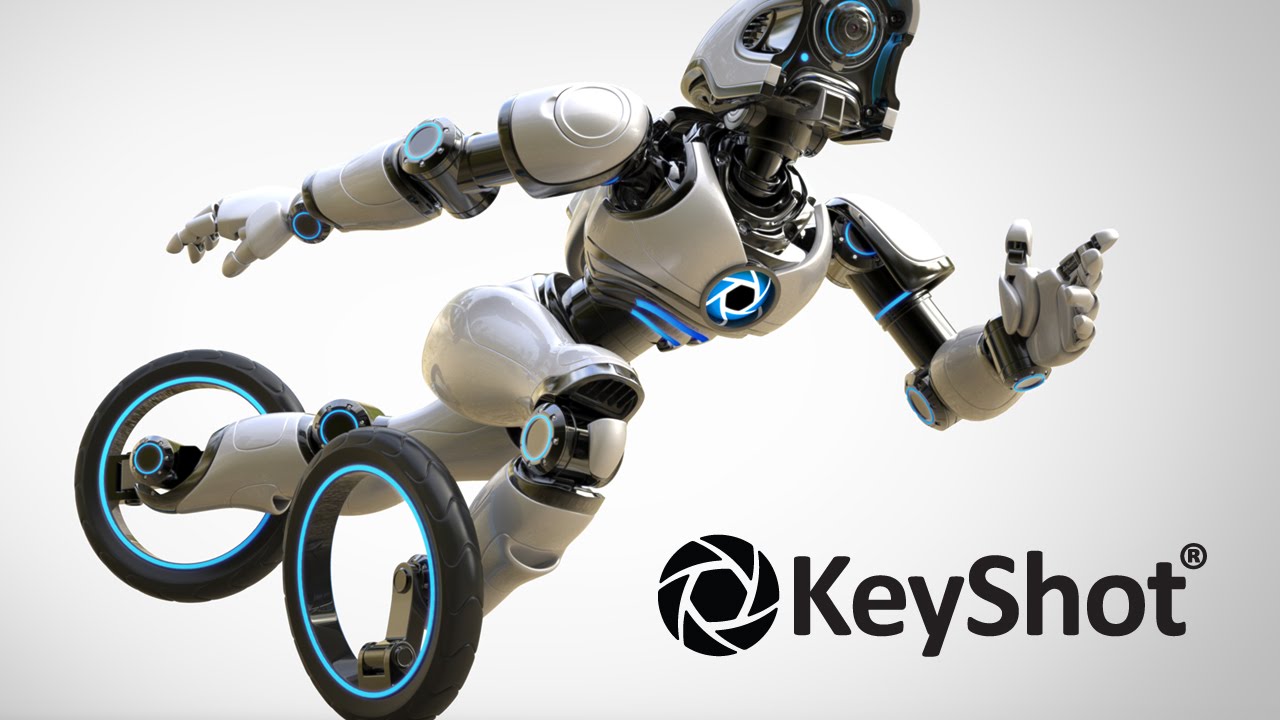
KeyShot is well-known as one of the best 3d rendering software to create amazing visuals. It is a real-time ray-tracing and global illumination program that displays results instantly and reduces the time to create realistic product visuals. Keyshot is gradually becoming one of the most favorite and popular 3D software chosen from artists all over the world with its amazing features. It supports importing the greatest number of 3D file formats out of any rendering software, and has an incredibly simple user interface with drag-n-drop material and environment presets, interactive labeling, texture mapping, physical lighting, animation and much more. Additionally, the software includes native support for over 30 leading 3D file formats, allows to keep the design in-sync across applications, reduce time for loading and increase time for creating. KeyShot allows you to more accurately communicate the physical properties of your labels by applying materials and textures to them. Of course, you can simply add a label to a surface and run with the default settings but you can push the realism even further with simple adjustments to material and texture.Let’s figure out how to do it now!
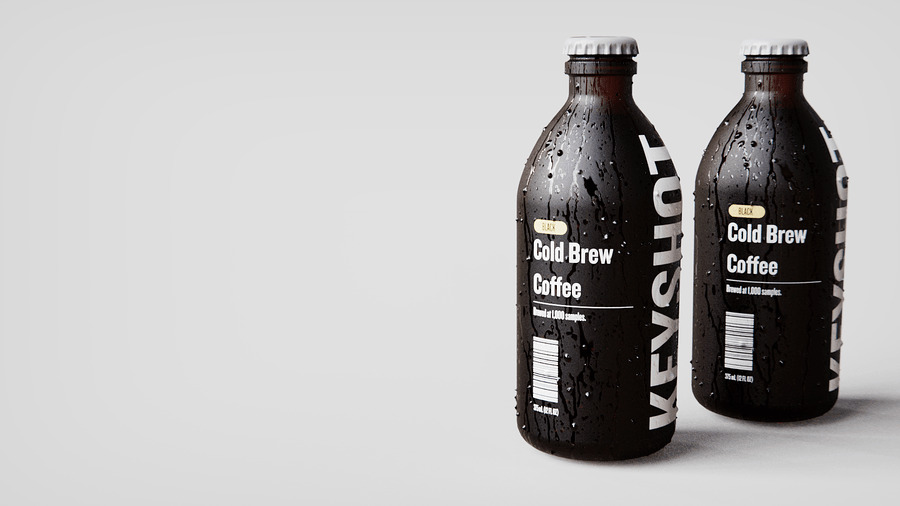
KeyShot allows you to more accurately communicate the physical properties of your labels by applying materials and textures to them. Of course, you can simply add a label to a surface and run with the default settings but you can push the realism even further with simple adjustments to material and texture.Let’s figure out how to do it now!
KeyShot Materials & Labels
In KeyShot, labels may be applied as an image, video, or material. When a label is added to a surface, it appears in the Project, Material, Labels tab. When a label is selected from this list, you can view it’s Type, Properties, Textures, and Mapping parameters. Let’s take a closer look at what happens after you apply a label.
Label Type
By default, the Label Type is set to Plastic. To change this, select a different material from the Label Type dropdown or drag and drop a material from the Materials Library onto the label in the list. The associated Label Properties and Label Textures will update according to the type selected. You can adjust your parameters here In the Label Properties tab just like you would for any other material.
Label Position
To quickly make changes to the position of your label, go to the Label Textures tab and select Move Texture from the mapping controls. Make sure you use a Mapping Type that correlates to the surface the label is applied to (e.g. Planar for a flat surface, Cylinder for a cylindrical surface, etc.).

Label Color Variations
If you need to create multiple color variations for your label, apply a white version of your label and use the Blend with Color checkbox in the Color properties. Simply, duplicate the label and change the Blend with Color selection as many times as you’d like to populate the list with different color variations.
Add Texture to Labels
Assigning textures to labels is just as easy. Simply select the Label Textures tab, then drag and drop a texture onto the Bump channel. From the Texture dropdown, you can select a different type of texture or, if the parent material has a texture, you can incorporate the texture by selecting the From Parent option.
Apply Parent Texture to Labels
If you want the parent texture to apply to multiple labels, go to the parent material’s Texture tab, select the Bump channel, and enable Apply Bump to Labels. This also provides the benefit of freeing up the label’s Bump channel when you would like to add additional bump texture maps. For example, you could hold the Alt-key, then drag and copy the label to the Bump channel to give the label some thickness.
Texture Sync
When mapping textures, it’s always important to be aware of the Sync option. When Sync is enabled it will match the size and position across the texture channels. But, for example, if you have an opacity map applied to a label and want to adjust its scale independent of the label scale, you should first disable Sync to do so.
As you can see there’s a lot of flexibility with labels. So to more accurately visualize and communicate your designs check out these material and textures options, and learn more about Labels in the KeyShot Manual.
Conclusion
Hope that with these above instructions, designers could have more understanding about adding textures and materials in Keyshot and could give more realism into your scene to feast customers’ eyes.
At iRender, we try our best every day to offer our beloved customers the power and expedience they need to put the project, concept, or presentation together quickly and beautifully. Keeping that in mind, iRender aims to facilitate such people by providing our own cloud render services for everyone. Even a low-performance computer can turn into a supercomputer using the cloud services by iRender. You don’t need to buy expensive computers and then install heavy software, just make use of the services by iRender and start creating.
If you are a new iRender user, just register HERE to get FREE COUPON to test our servers with your Keyshot scenes and stay tuned for more interesting and useful articles related to rendering everyday.
iRender – Happy Rendering!
Reference: Keyshot.com
Related Posts
The latest creative news from KeyShot Cloud Rendering , Cinema 4D Cloud Rendering , 3D VFX Plugins & Cloud Rendering.