Redshift Renderer Tutorials For Beginners
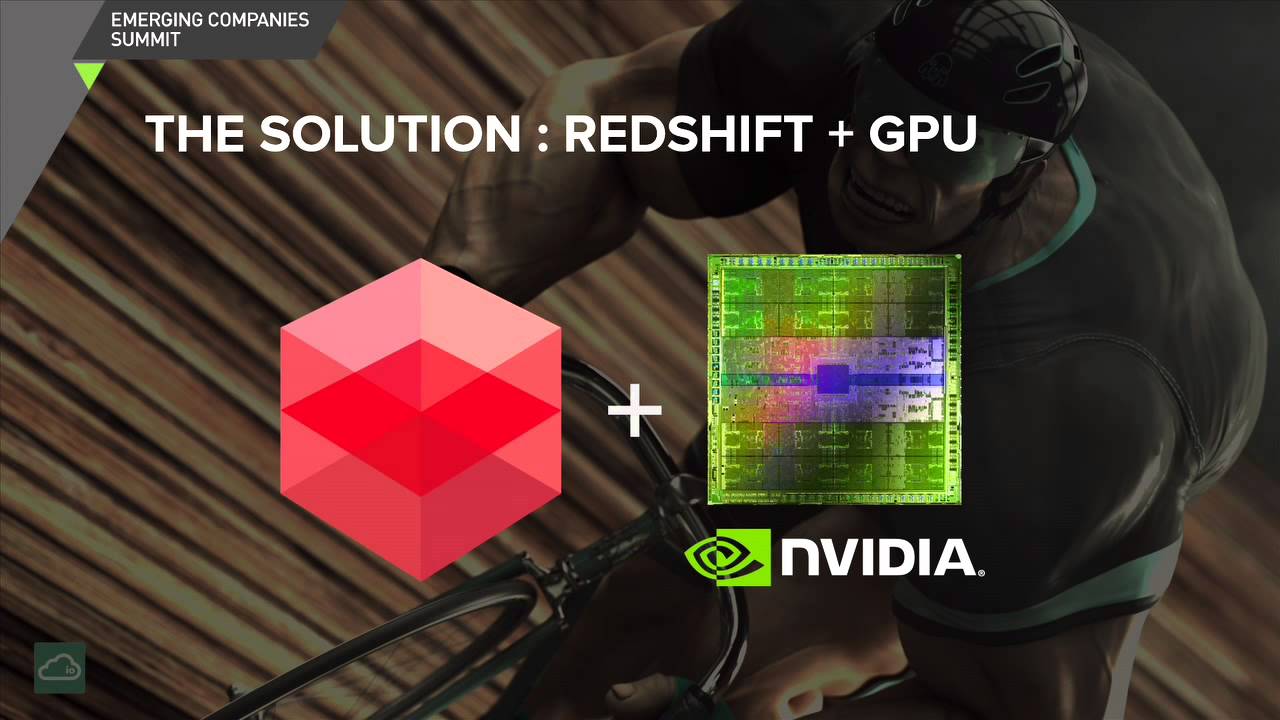
Redshift is the world’s first fully GPU-accelerated, biased renderer. It is used in production by leading studios around the world because of its blazingly-fast GPU rendering – as much as 10 to 50 times faster than CPU rendering.
Redshift is not only the world’s fastest renderer but also offers the most features and flexibility among all GPU renderers. Its rich feature set includes ray switches, flexible shading networks, motion blur, AOVs, deep output, layered EXR, and much more. Unlike other GPU renderers, Redshift is a biased renderer that enables you to adjust the quality of individual techniques in order to get the best performance/quality balance for your production. With Redshift Renderer Tutorials will help you learn how to get going with Redshift from the beginning.
These free tutorials will help you learn how to get going with Redshift from the beginning. Most of them are geared towards beginners but they’re packed with information helpful to 3D veterans too.
Take advantage of Redshift’s speed and start making photorealistic renders fast!
Quickstart To Redshift

Andrew Silke is the founder of Create3DCharacters.com and the creator of this awesome quickstart tutorial.
He guides through the basics of rendering characters in Redshift from start to finish.
This tutorial is perfect for those preparing a character portfolio with a focus on 3D animation
Getting To Know Redshift

Chad Ashley from Greyscale’s Gorilla establishes a unique workflow for the Redshift plug-in for Cinema4D.
He guides us on the essentials to get you started: render settings, lights, and materials.
In this clip, Chad shares production tips such as using sample settings in the power of 2 (i.e. 32, 64) for better performance with the algorithm. Or tips on using the render view’s sample pass to troubleshoot renders.
Redshift For Maya

In this video, you’ll explore Redshift’s render settings including depth of field and subsurface scattering options.
And you can learn tricks such as using randomized noise patterns for animation.
Lighting

In this tutorial, you can learn how to light an object in various scenarios using the Redshift plug-in for Cinema4D.
Starting from an HDRI light, you’ll be going through a gobo atmospheric light and capping it with a three-point lighting set-up.
Another interesting here is how the teacher layers several light types rather than just one. It shows the strength of each type and how to make the most lighting with Redshift. Till the end of this video, the instructor teaches you how to optimize your lighting for the final delivery.
Subsurface Scattering

Subsurface scattering simulates translucent objects such as skin, marble, milk…
Jesus Fernandez explains the differences in backward and forward scattering. He also demonstrates how you can manipulate them for a more stylized look in your work.
You can learn how to mimic a thick (or thin) object by adjusting the phase parameter.
Unified Sampling & Cleaning Noise

This video shows how to optimize your scene to meet any deadline and still create a presentable output.
The instructor goes deeply on why Adaptive Unified Sampling works the way it does and how you can control its behavior on a scene, object, and material level.
Reference: Internet
Related Posts
The latest creative news from Cinema 4D Cloud Rendering , Blender Cloud Rendering, Redshift Cloud Rendering, Houdini Cloud Rendering , Octane Cloud Rendering, 3D VFX Plugins & Cloud Rendering.