
Tips for rendering faster with Cycles in Blender
Cycles renderer is a physically-based for production rendering. Cycles also is an original renderer in Blender, Poser, and Rhino. Besides, the Cycles4D is available as a plugin for Cinema4D and 3Dsmax as well. Today, we reach out the Tips for rendering faster with Cycles in Blender with Curtis Holt. He is not only a 3D artist but also is Blender YouTuber with more than 100.000 subscribers. Let’s check it out!
Simplifying materials
Using procedural materials will impact the performance of your scene. Certainly, you could bake them down into textures even procedural materials are really convenient. As a reason, they can be applied to an object of any shape and react to the mesh accordingly. With a heavy scene, Curtis holt has used a plugin in a temporary shader. That provides a similar result from a distance but calculates faster in the viewport.

He gives us an instance. He uses the Complex iron shader from his modular metals product. And while building the scene, he creates a simple Glossy BSDF as a replacement. It makes enough similar the result. If you say no to seeing extra surface features, you probably make your scene easier by simplifying complex materials. Furthermore, it would give you a boost in performance as well.
Tile size
Tile size you choose when rendering can significantly impact the speed of your final render with Cycles in Blender. Here I have the simplified version of the scene without procedural materials and extra details. These images are exactly the same results but have different tile sizes. Check out the result rendering time below:
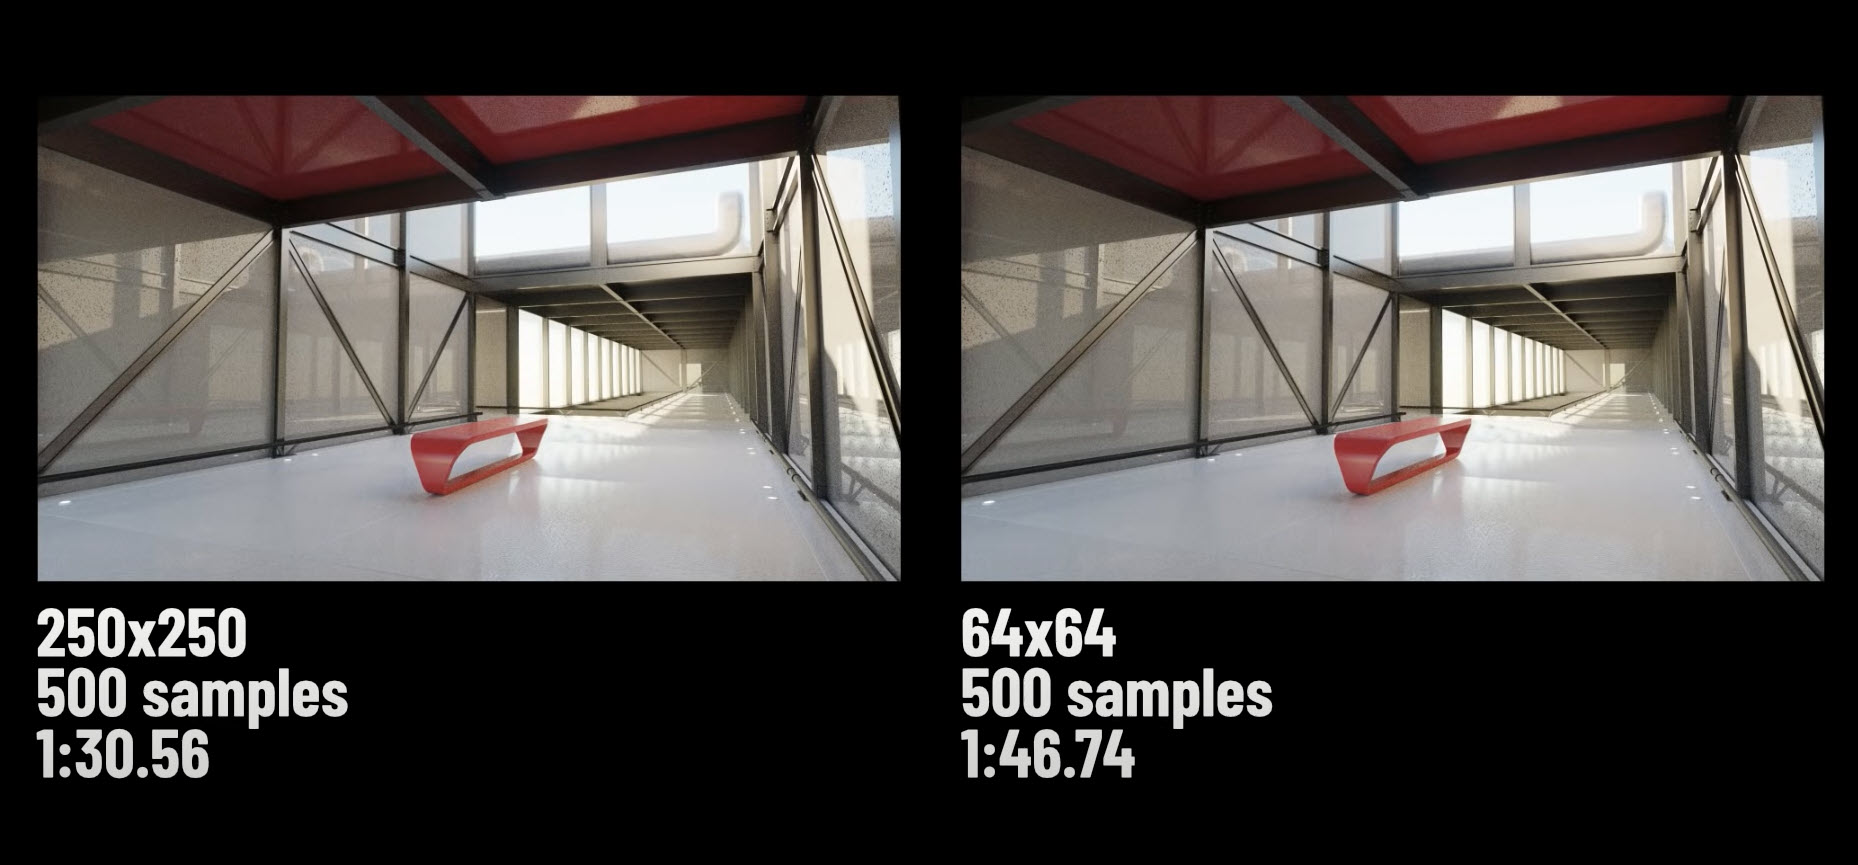
As you see, a simple change of the tile size accounted for a 16-second time difference on the frame. If you’re rendering plenty of frames then rendering time can really add up.
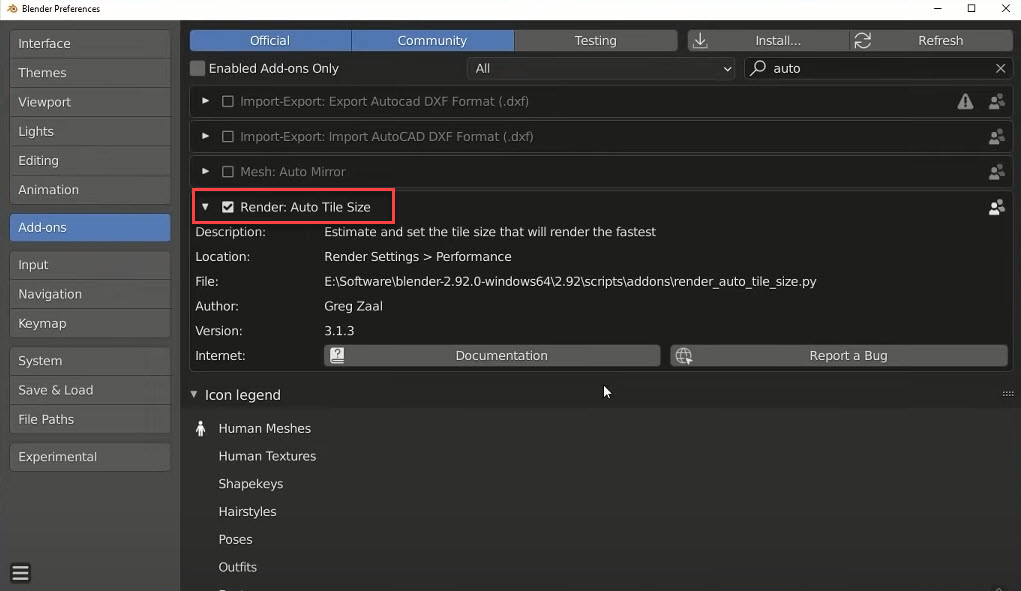
Auto tile size is an add-on that comes pre-packaged with Blender. This add-on estimates the ideal tile size for the fastest rendering speed. You need to enable it from the User preferences and it will appear in your Render settings called Auto tile size.
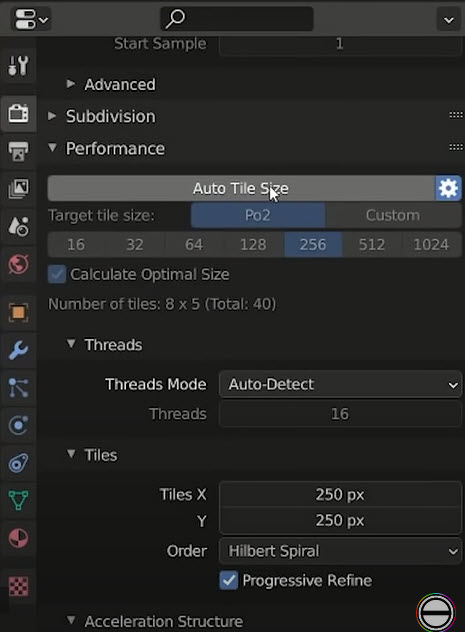
But even with this, it may still be worth experimenting to see if you can fine-tune the perfect values.
Cycles X
There has a new version of cycles called Cycles X. One of the significant changes being made with Cycles X is the removal of tile-based rendering in favor of progressive sampling. Basically, it means that the entire frame will be sampled rather than just specific areas. That is to say, you’ll never have to be anxious about whether the specific tile size you’ve selected for your scene is the most efficient option. Moreover, you’ll also be able to just stop the render whenever you like. Because samples are being cast across the entire scene. So if you feel like enough noise has already been removed, you can cancel it early. and save the result. The current implementation of cycles does have a progressive sampling mode. Thus, you can try this out by enabling the Progressive refine option in the Render Settings.
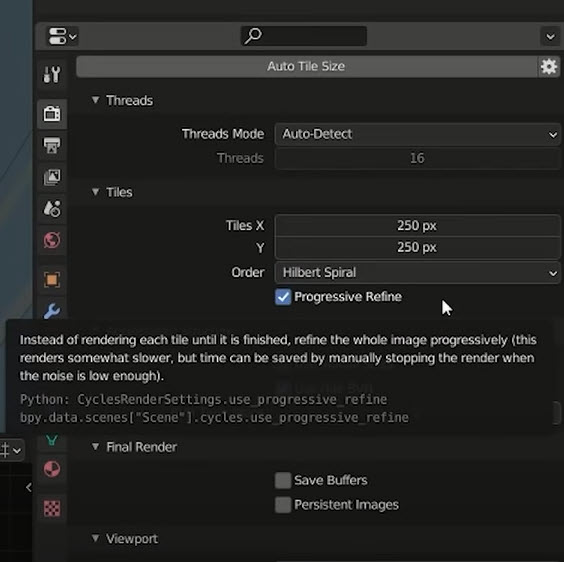
However, it is slower than regular tile sampling in the current version of cycles so you should consider using it.
Outsourcing
These tips about scene design. It would be too much of a time investment making plants. Especially when there are already lots of places to get high-quality models. To speed up your workflow sometimes it’s just a better option to use technical resources provided by other people. These are some options libraries for you.
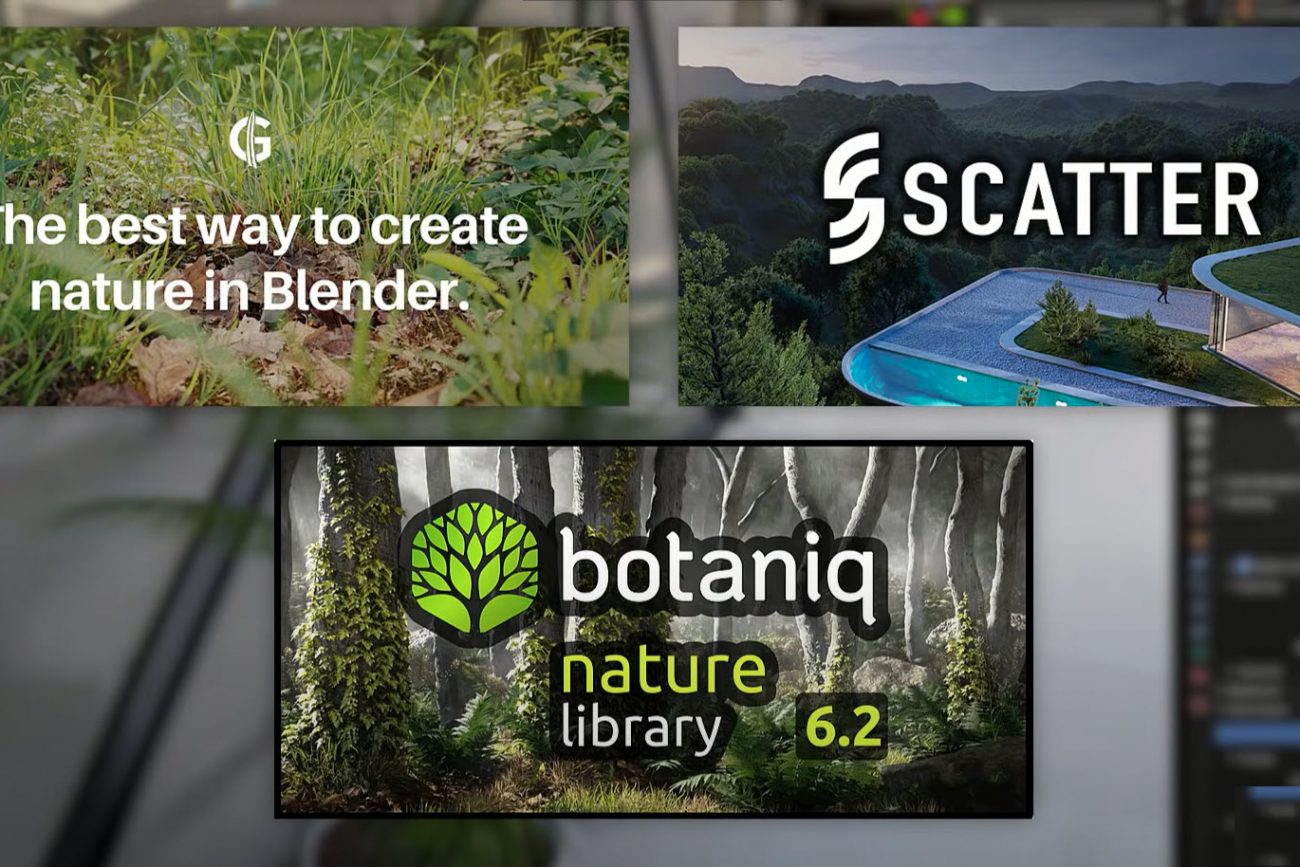
These libraries have plant ecosystems and contain a wide range of trees bushes miscellaneous other plants grass, and vines. The models with their pre-made shaders are easy to import with the provided add-on. And you do not need to make any adjustments to the shaders whatever. So that saved you a lot of time. There’s also a tool included that lets you draw vines over these surfaces of other objects. That would be fantastic for exterior architectural scenes. Reference on Blender market.
Light Paths
To talking about performance render, light paths and max bounces are important things. Max bounces define the number of bounces that light paths can make when obtaining information to piece render together. You can specify the number of paths for different surface behaviors separately to see how we can have different values for diffuse, glossy, transparency, transmission, and volume.
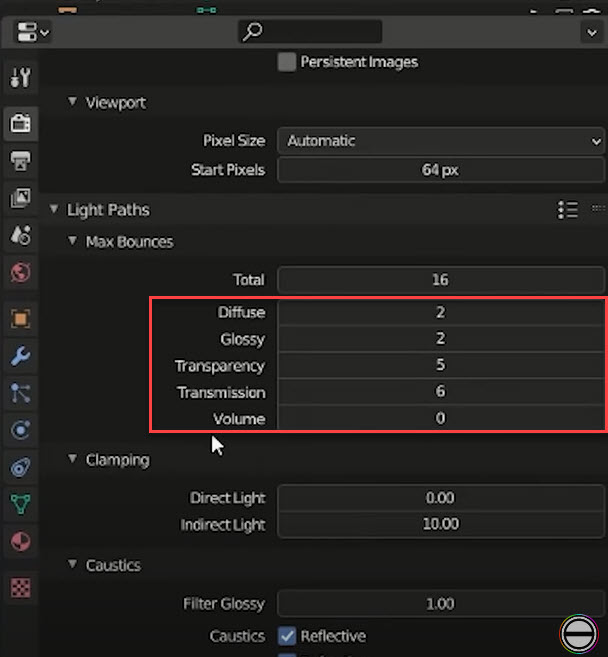
If you don’t need a high number of bounces then you should reduce them where appropriate. Having the total number of bounces set to zero results in only direct lighting being captured.
But increasing it would give you the indirect scene lighting, as well as any extra information, gathered from the transparency volume and so on. Sometimes it’s worth testing the light bounces with different values to see if there are any issues with objects in your scene. Watch the example in the detailed video.
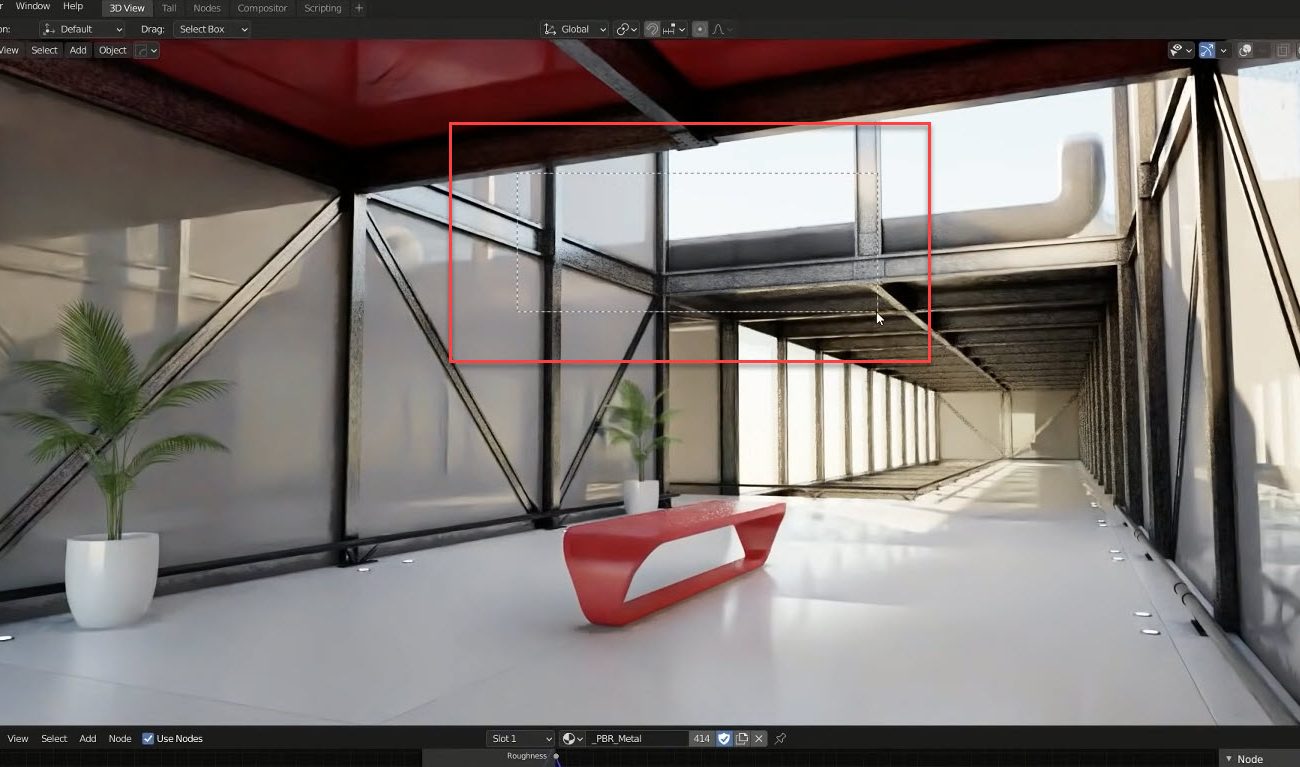
Render Region
You can set a specific area of the camera view to be the only area that’s rendered in both the viewport and the final render. You can do this by pressing Ctrl + B and then drawing a box. So if I wanted I could create a render region around this section. You can make some adjustments to the visual style of it within the context of the scene you can. Then clear the render region by pressing Ctrl Alt + B. This means if you want to only preview a specific area of the scene. Then it’s very easy to do that of course reducing the area of the scene being rendered will significantly speed up performance. But restricting the render border like this is also very useful for making corrections to a complex render when putting this final scene together.
Besides, there have 2 extra tips: Sky Texture & Closing Thoughts. You can find out in detail video below:
Boost the performance render in Blender with iRender server
Another tip to accelerate the render with Cycles in Blender project is using a workstation with high performance. Sometimes, your hardware such as CPU, GPU, and RAM cannot meet the project requirements. Luckily, iRender provides high computer configuration for rental via Remote Desktop Application (.rdp file). Our server has a powerful GPU: single/multiple RTX 3090 & CPU: Intel Xeon W-2245/ AMD Ryzen Threadripper Pro 3955WX. Furthermore, we have 256 GB RAM, 24GB VRAM, and Storage (NVMe SSD) up to 1 TB.
iRender’s workflow is simple and easy. You need to create an image and then boot a system. Next, you connect to our remote servers and take full control of our machines. There you can install any software that you want.
All steps to start using the service via this video, you should take a look:
Register to explore powerful servers and contact Candace – CS at iRender via email phuongntb@ỉrender.vn or Whatsapp/Telegram: +84 394000881 to get a coupon trial.
Source: Curtis Holt
Related Posts
The latest creative news from Blender Cloud rendering.


