Tips for C drive that iRender users need to know
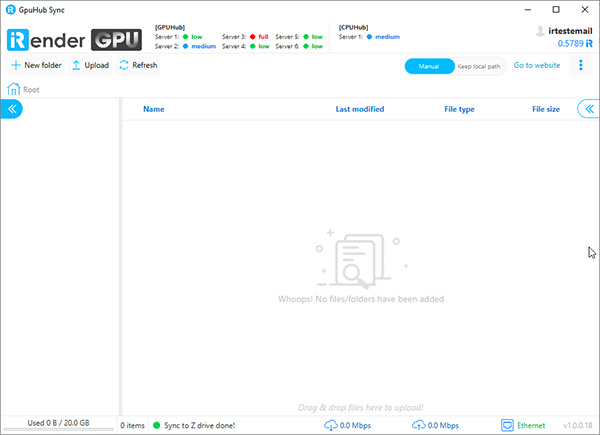
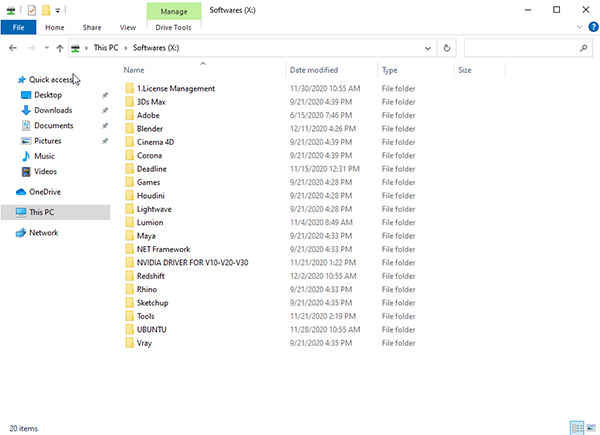
As you all know, iRender provides high computing performance (Gpuhub & CPUhub) for Render and Traning AI / Deep Learning. But, not only that, we also provide other utilities to make it easier for you to use our server. For example, the app GPUhub-sync is used to transfer data back and forth between your personal computer and our server (data transferred to the Gpuhub-Sync app will automatically sync in the Z: drive of the server machine, and vice versa), is the place to store your data indefinitely; We provide the most popular software installers at X: drive. However, in order to use the GPUhub-sync app as well as the Z: drive, the X: drive we provide has the best performance, please refer to some Tips for C drive down here:
1. Upload the file before using the server
Please proceed to upload your software installer or any necessary data to Gpuhub-Sync before booting our server.
Benefit:
-
-
- The data is ready for you to use when connecting to the server.
- Save economic costs as well as time for data transmission work. This is especially useful when your data volume is large, or you are working in teams. Each individual can actively upload his or her data to Gpuhub-Sync at any time, avoiding waiting for data to be uploaded and synchronized to the server.
-
2. Copy the software installation file and job data from drive X: drive Z: to drive C: then install
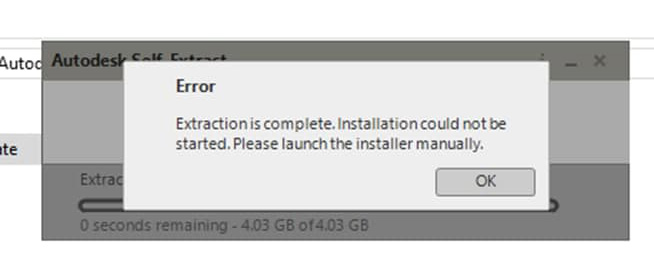
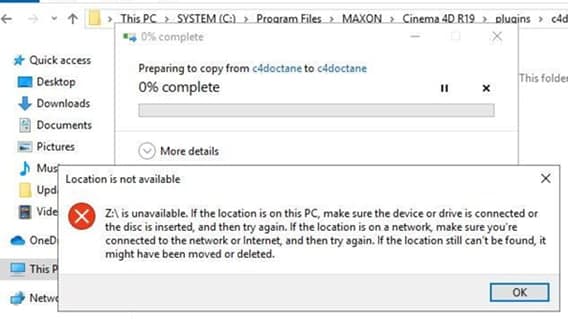
Surely there have been a few customers having problems when installing the installation file directly via the X, Z drive as below:
Reason:
-
-
- There is some software that does not allow installation via network drives (X, Z drive), so there is a system error.
- Our X and Z drive are network drives. Therefore, if you open the file and install it directly on these 2 drives, you will experience slow opening or installation slow and lag.
-
Solution:
Copy the installation file and job data from X: drive and Z: drive to C: drive and then install and use as usual.
3. Save results in drive C: to avoid data loss
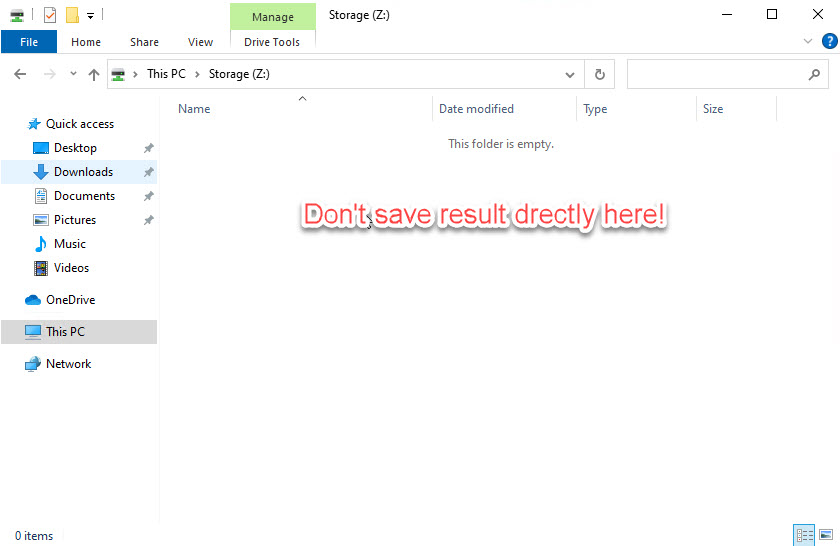
You may not want to waste time copying the render result file from C: drive to Z: drive. However, if you save the render results to Z: drive you may experience problems with not displaying the output file. Since we are providing the Z: drive as a network drive, connectivity may be lost while you save the results. To avoid this unfortunate thing from happening, save the results at C: drive first and then copy back to Z: drive. The resulting file will be automatically synchronized back to the Gpuhub-Sync app, making it easy to get the results back to your personal computer.
Note: When copying data from C: drive to Z: drive, you should name the folder differently from the original folder name in the Z: drive. To avoid the case that the copied data with the original data are overlapped and cause loss of data.
Hope the tips above will help you use our services more easily and effectively. If you have any questions, please contact us via email at [email protected].
Thank you & Happy Rendering!
Related Posts
The latest creative news from Cinema 4D Cloud Rendering , Blender Cloud Rendering, Redshift Cloud Rendering, Houdini Cloud Rendering , Octane Cloud Rendering, 3D VFX Plugins & Cloud Rendering.

